Panorama Robots
It somehow seems inevitable; if you are into photography and electronics, you want to build a panorama robot. Coupled with very good software to stitch and render a panorama image, the results can be breathtaking even with little effort. For the stitching software, I recommend Hugin, the open source panorama stitcher. On a modern OS; just go yum / apt-get install hugin. For a good intro into setting up and shooting the single frames which goes into your panorama, see Robert. Cailliau's article.
Once you've taken a few pictures, maybe five or even ten with a fairly wide angle lens, you realize that you can get even more detail if you use a zoom lens. Maybe 200 or 300mm. However, now you have to take hundreds of pictures to cover the same area in your finished panorama. This is were the robots come in.
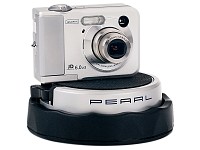
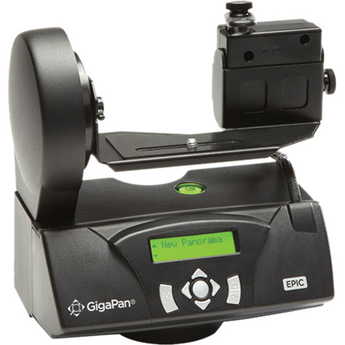
The pocket camera on the turn table below is a very cheap solution; about 15 Euros. I have not found a specific product or manufacture name, though. It shows up in searches for "Panorama Drehteller". Next to it is a more professional solution, the Gigapan Systems Epic 100 Panorama Robot. It can take a DSL, and pan both horizontally and vertically. You need both if you plan on using a 200mm lens.
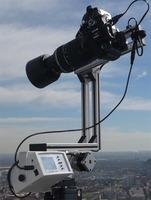
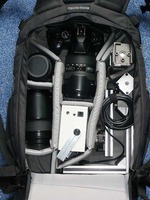
So if you're only into photography, and not DIY and soldering, those are maybe some of the solutions you'd go for. However, if you are able to build one yourself, what is stopping you? Nothing, it seems, judging by the number of home made panorama bots. Here is a Lego Mindstorms competition to build a pano bot with the winners from 2008. Here is a Jason Babcock's second go at a panoramic turntable, using ULN2004A and BX-24 micro-controller. And here is T. Emrich's system which looks like a very solid setup, and clever control: His early work resulted in a horizontal rotation only solution. Later on, he built the GigaPanBot or Gigapixel Panorama Robot with complete freedom on both axis, seen in the picture below. Maybe most impressive, is how the whole system fits into his camera bag.
So what if you want to build your own. Well, nothing is stopping you, and there is plenty of parts to pick up to make a simple first system. Babcock's first attempt was using a stepper motor from an old fax. Or you could buy a new stepper motors for less than 20 Euros.
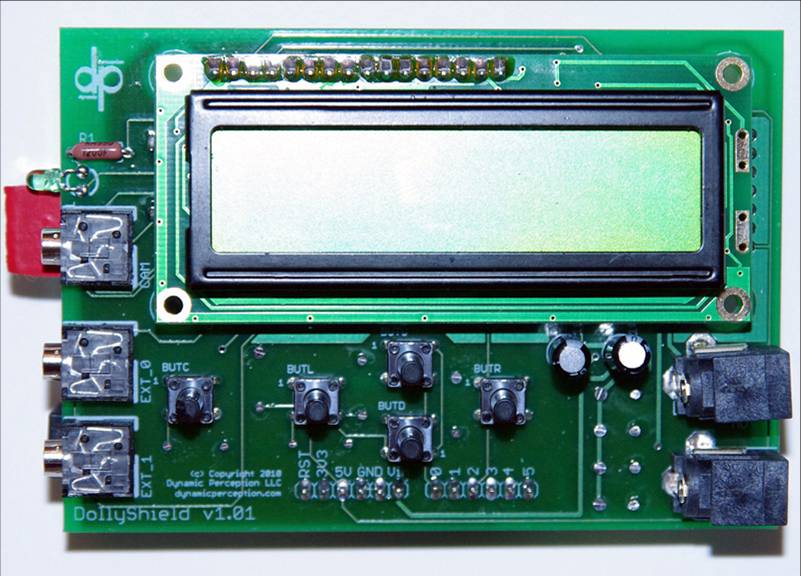
To help you on your way, there's the DollyShield, which I spotted on the Arduino Shield List. It includes control of two DC motors, shutter remote for the camera, joystick buttons and a LCD. "It is designed to provide an inexpensive and easy-to-use interface for two-axis motion control integrated with a camera."
