PC build: Silent yet powerful
It's been a long time since I've had the chance to put together a machine. The one I'm typing on right now has a more than five years old AMD Athlon 64 X2 5050e, and one of its HDDs report 47220 Power_On_Hours, or 5.4 years. It was fun to look at some new hardware.
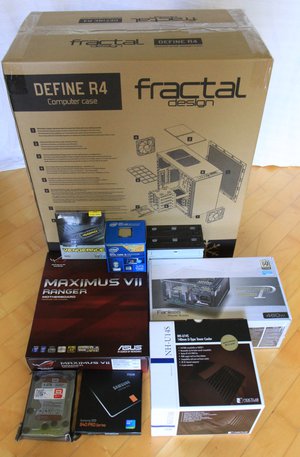
This build is not for me, though. My father's current machine is from 2005, and the AMD Sempron 2600 1.6GHz has kept up well, however would not be a good fit for the new requirements: A silent build which can handle a modern Ubuntu distribution plus Windows 7 in a VM. After good advice from Redditors on r/buildapc, I got the following components.
Main
- CPU: Intel Core i5 4570 (LGA 1150, 3.20GHz) - €159
- MB: ASUS MAXIMUS VII RANGER (LGA 1150, Z97, ATX) - €147
- RAM: Corsair Vengeance 2x 8GB (2x, 8GB, DDR3-1600) - €135
Storage
- SSD: Samsung 840 Pro Basic, 256GB - €159
- HDD: Western Digital Red, 4000 GB - €139
- DVD: 2x Lite-On iHAS124-04, DVD Burner, SATA - €42
The rest
- Case: Fractal Define R4 – Black (Midi Tower) - €95
- PSU: Seasonic P-460 Platinum Modular Fanless – 460W - €108
- CPU Cooler: Noctua NH-U14S (140mm) - €71
Requirements and reasoning
At € 1055 (in June 2014), it's not a cheap build, and I could definitely have saved a bit here and there. However, that was not my main concern - my father deserved something top-notch. I wanted something powerful enough so that it would last many years to come without upgrading, yet silent for the living room. That's why some of the components are somewhat over-provisioned: the fanless 460W PSU, while I expect the peak draw to be less than 150W; 16 GB RAM, 256 SDD, 4 TB HDD.
For the CPU, I went for the four core Intel Core i5 4570 (LGA 1150, 3.20GHz), based on redMarllboro's advice. It is indeed more powerful than the AMD A10-6700 I had originally planned for, and furthermore, the virtual cores would not benefit the VM much.
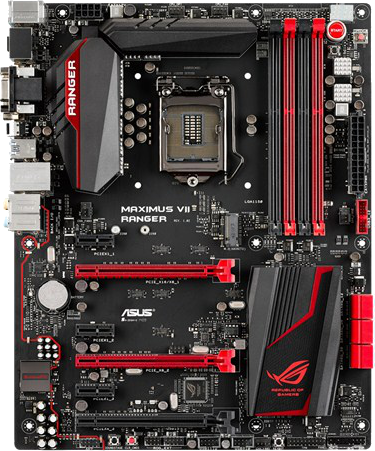

With the CPU fixed, I narrowed down my search for an Asus motherboard to the ASUS Maximus VII Ranger (Z97). That was based on the following criteria: more than 4 SATA ports, Intel Ethernet controller (I try to keep away from Realtek based on this issue, even if that was WiFi related), 4 DIMM slots, an onboard DVI and/or VGA port. Turns out, that really narrows it down, and about the only contender was the ASUS Sabertooth Z97 Mark 2, however that only has HDMI and Displayport embedded.
Now, one could argue that both of those MBs are overkill for what I'm building. However, most of the boards I'd be looking at would be in the €100-150 range anyway, and as price was really not a main issue here, why not go for the latest chipset? Furthermore, the "Republic of Gamers (ROG)" marketing from Asus I find somewhat misleading. The Maximus board looks aggressive in black and red, but surely it is the hardware specifications which matter. For example, the 10K Black Metallic Capacitors are welcome when cooling is an issue. Also, some of the ROG "features" in the form of software are dubious at best: How is a RAM disk a feature of the MB? On most GNU/Linux distributions, it's there by default under /dev/shm.
For storage, an SSD is a no-brainer these days, and the only questions are: How large? And is additional storage required? 128 GB might have been just enough, but with ~50 GB for the Ubuntu host OS, ~40 GB for the VM, and ~30 GB for swap it would have been very tight. (In fact, post install, only 70 GB is left on a 256 GB disk). Doubling to 256 GB is less than double the price. I will require more storage space, so added the 4 TB spinning disk. When it comes to WD Red over Green, it's only about €10 difference, so another no-brainer.
As the VM will be running Windows, my plan is to back it up frequently, in the hope of recovering from certain problems of that OS. Now, several people on r/buildapc thread advised against this. I suppose they are mostly right; it might be possible to lock down a Windows installation to the point where malware and adware is not a problem. The first and second issues with that are I'd have to spend a lot of time learning about it, and I would not be very interested. And why should I? A restricted install with no direct user access to system binaries and most applications delivered from a trusted cryptographically signed source has been the norm on most GNU/Linux distributions for more than a decade. It takes no effort at all, so why go with something inferior? If this machine and setup can avoid my father spending hundreds of bucks at PC Repair shops every year, it will pay itself back quickly and be a success.
Silent and cool
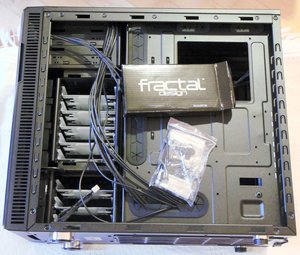
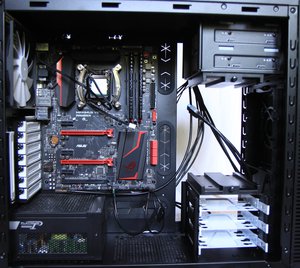
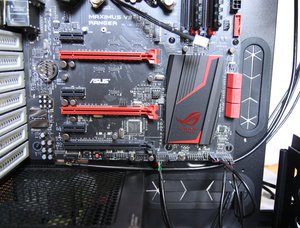
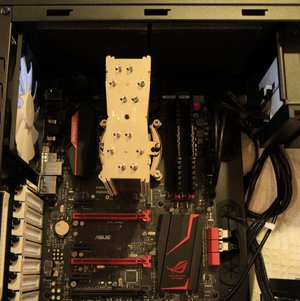
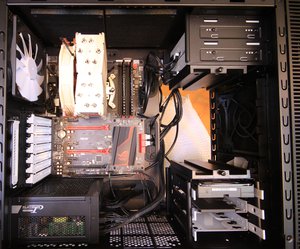
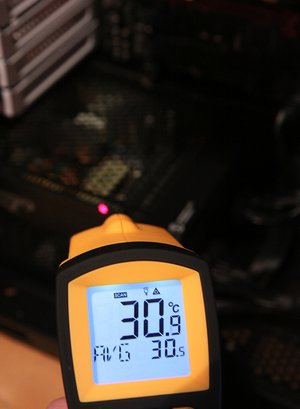
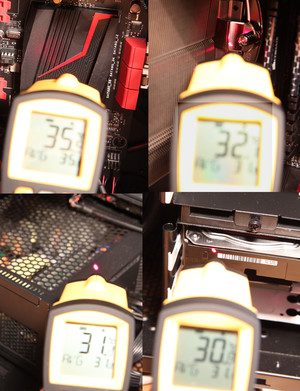
The most important requirement for this build was to make it silent. The fanless Seasonic P-460 achieves that without breaking a sweat. At normal load, which is 35 to 50 W at the power socket (220 V; in EU), I've measured its temperature of the PSU at 31 C. Also, the modular cable system is very nice, as it means no lose cables hanging around. In fact, there are no cables crossing the motherboard at all, as seen in this picture.
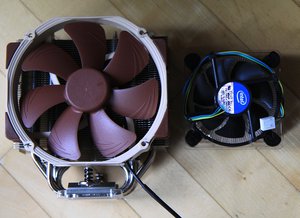
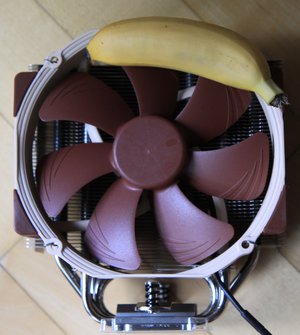
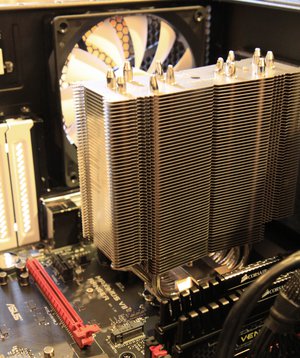
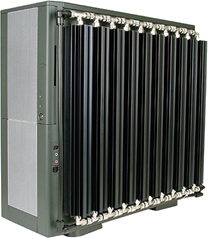
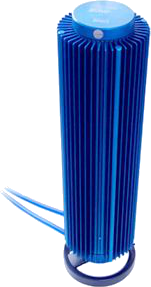
For the CPU, I had wished for passive water cooling, however most solutions on the market today are downright ugly. If the Zalman Reserator tower was still around, I would have gotten that. The compromise was therefore the over-sized Noctua NH-U14S. Again it is probably a bit of an overkill, however the benefit is that it's not pushing the limit of the cooling, so it remains silent and cold. CPU temperatures at load is around 30 C, and at peak 45 C when the case fans kick in. The part which gets warmest is the Z97 chipset heat-sink, at around 36 C.
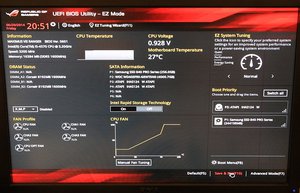
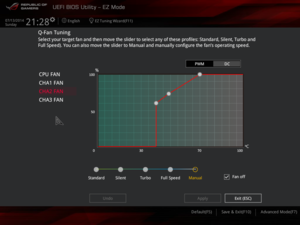
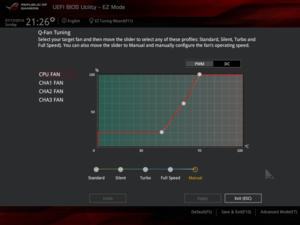
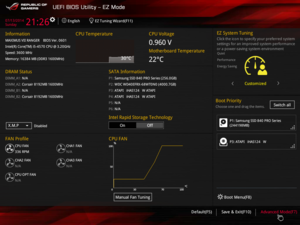
One of the features I appreciated most with the ASUS Maximus VII Ranger motherboard was the fan-control. Five fans can be controlled individually based on temperature. Both PWM (Pulse Width Modulation) and DC (voltage) regulation is possible, based on fan type. As seen in the pictures below, the two case fans are off when they are not needed, and kick in slowly when it gets hot. On low to normal load the CPU fan spins at 350 RPM, and can barely be heard if you put your ear right next to the case.
Finally, the only other moving part in the machine is the Western Digital 4 TB Red HDD. At a maximum rotation speed of 5400 RPM it is not dead silent, but quiet enough.
Building
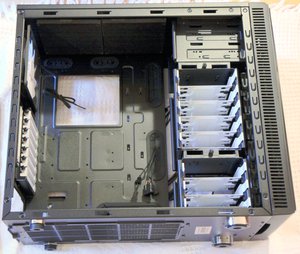
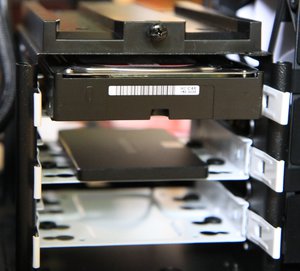
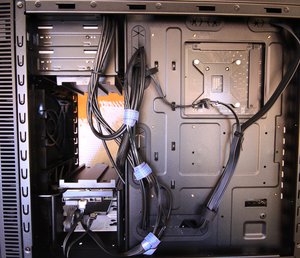
Building this machine came with a lot of fun! The Fractal Design case was pure joy to work with. All aspects were well thought out: Easy access to left and right side (back of MB), excellent cable management, easy disk mounting slots, two large (and quiet) fans. Gone are the days of scratched and bleeding hands because of sharp edges around the case. And the fact that there are no cables criss-crossing the motherboard not only looks good, but also makes for good airflow. If I were to say anything against the case, it would have to be that it is big heavy beast.
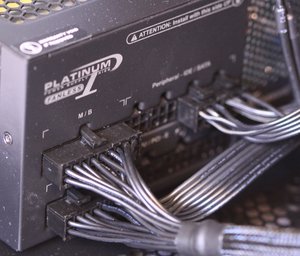
The other components were also top notch, and caused no problems. In particular the modular Seasonic PSU and cable system is very welcome. You only have to plug in the cables you actually need, so no lose ends hanging around. The fact that the PSU comes in a pouch which competes with expensive cologne is also a nice touch.
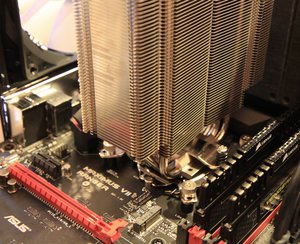
The Noctua NH-U14S is a massive cooler. And it was another reason why I ended up with the Define R4 case; it was one of the few cases which had enough clearing for the cooling block. With a 14 cm fan it keeps the CPU nice and cool. The initial boot was without the fan, and temperatures went up to about 45 C in the BIOS. With the fan at lowest speed (about 350 RPM), it sits at around 35 C (still without having applied thermal paste; will wait till it's shipped). The only concern I had was with fan direction. Its default orientation was to blow air from the RAM side backwards over the cooler. Currently, I've put it on the other side, so it sucks air over the block, and blows it right out at the rear fan. I might experiment with the difference of direction and position.
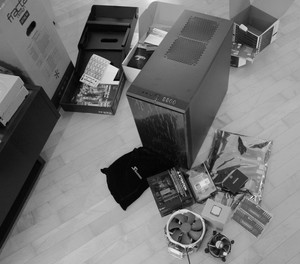
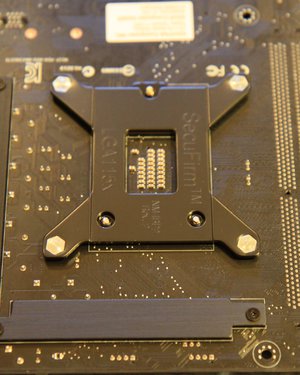
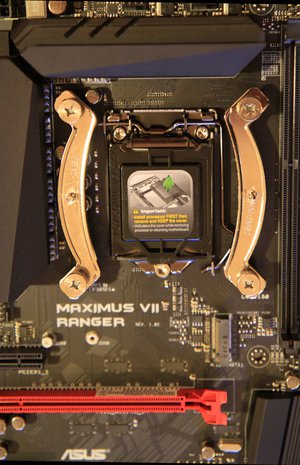
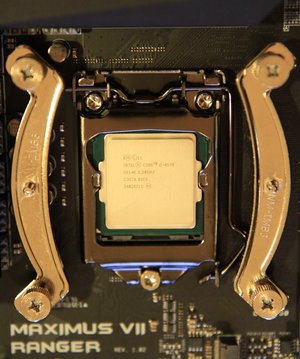
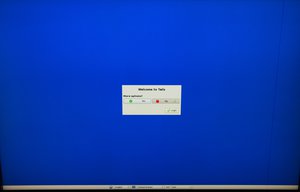
Here are a few pictures while building, followed by a couple of BIOS screen shots.
(Click for larger images.)
Software
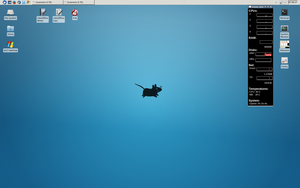
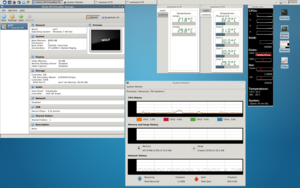
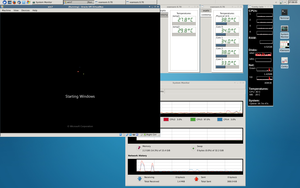
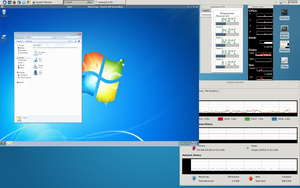
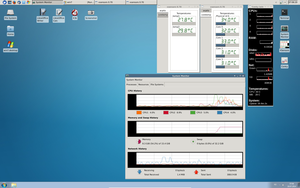
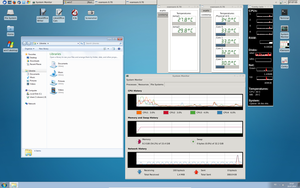
As mentioned above, the goal was to have an Ubuntu installation, with Windows 7 in a VM. I chose Ubuntu 14.04 (aka "Trusty Tahr"), since it is a Long Term Support (LTS) release, and figured this would be the right balance between stability, supported hardware and packages. Other distributions I am currently using include Fedora and Debian, but for this build I figured hitting the middle-ground would be OK, thus Ubuntu. Since my father is used to Windows, I went for the simple Xfce 4 desktop, with a familiar taskbar, window icons and SHIFT+TAB application switching. As seen in the screen-shots below, it blends nicely with the seamless VirtualBox integration.
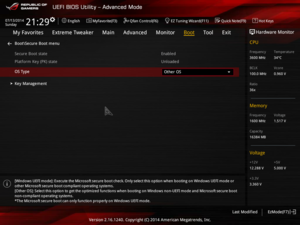
I tried and installed both the alternative Xubuntu ISO and the main Ubuntu ISO. The main difference is the default desktop, which is Xfce in the former. However, that had boot problems with Secure Boot, even after I enabled "Other OS" in the BIOS. It would install fine, but not find the boot image afterwards. It was possible to repair that by refreshing Grub, however it gave me a bad feeling at the start. The main Ubuntu ISO had now boot issues, and changing the desktop is just a matter of installing a package and selecting a different option at log-in. (The Ubuntu variations are really a bit redundant in that regard. Especially when other basic functionality, like boot, fails).
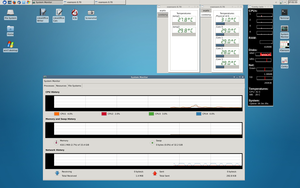
Apart from the default ISO packages, I added the following. There you can see xfce4, the VirtualBox packages, various utilities, and a few benchmarking tools. Nothing much came out of the later. Instead, see the CPU graphs below, which shows calm and moderate load while running Windows in the VM.
apt-get install autossh bonnie++ conky cpuburn dbus dos2unix elementary-icon-theme emacs evince fancontrol feh geeqie gimp git gitk gnome-icon-theme-extras gnome-icon-theme-full gnome-icon-theme-symbolic gnome-terminal gnupg gparted gthumb htop iftop imagemagick iotop k3b kdiff3 libnss-myhostname lmbench mencoder mplayer mtr nmap openssh-server parcellite policykit-1 policykit-1-gnome policykit-desktop-privileges screen smart-notifier sysbench sysstat tango-icon-theme tor tree usbutils virtualbox virtualbox-guest-additions-iso vlc wireshark xfce4 xsensors xubuntu-icon-theme
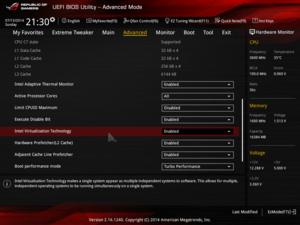
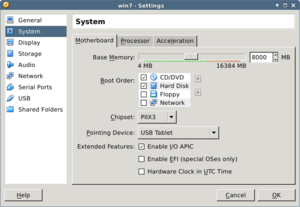
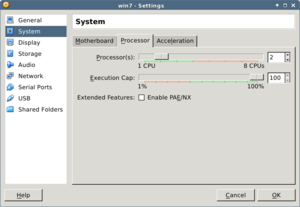
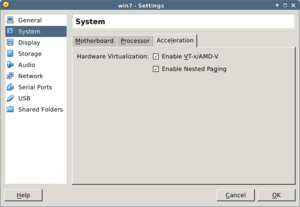
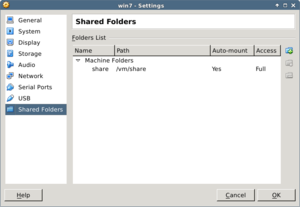
The installation of Windows in the VM is very simple. One important option to notice, is the Intel Virtualization Technology (VT-x) setting in the BIOS, as seen here. Once that is enabled, the rest is a breeze. VirtualBox comes with a brief but useful "wizard" which guides you through creating the image. I opted for a 40 GB, 2 CPU cores, 8 GB setup. After that, add the install medium (physical CD or ISO), and boot. Windows 7 will reboot about ten times, just as in the old days, but eventually will leave you with a full fledged install. Right after installation, it's useful to add the VirtualBox Guest Additions, which amongst other things enables the seamless mode. Also, a shared mount-point is useful, and can be easily enabled through the VirtualBox settings. It automatically appears in Windows.
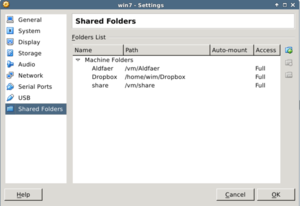
The CD/DVD drives are passed through, and the physical drives were mapped to similar drives in the VM. For shared directories / drives, I wanted to makes sure the they were mounted to the same Windows drive all the time, regardless of other mount points. Thus, the VirtualBox setting does not use auto-mount, and instead the directory was manually mounted as seen in the Dropbox example below.
Installing Dropbox was a matter of downloading and installing this package, and start it as an unprivileged user. Then, in order to make that available in the Windows image as well, the top Dropbox directory was shared as a drive. (Note: The Windows VM is intentionally not connected to the network). Finally, a requirement was to have that fixed on C:\Dropbox, which was achieved with a symbolic link in Windows. The following lines has to be executed in a shell run "as Administrator":
net use x: \\vboxsvr\Dropbox

mklink /d x:\ c:\Dropbox
One of the few special applications which requires Windows, was Corel Paint Shop Pro (PSP). The usage pattern for this is typically to download something from the web, and the process it. To make this easy and seamless, I added a Firefox plug-in so every image gets an extra right-click menu item which opens the image in PSP inside the VM. Details for this is explained here.
Finally, another special Windows only application was the genealogy program Aldfaer. The requirement here was that it could be updated, over the web. To make this work, the main install is on Ubuntu, with an option to run and update from Wine. However, it runs better inside the VM, so the application folder is mapped to Windows through another shared folder in VirtualBox. I will go into detail regarding this setup in a later post.
Writing this a few months after the machine was delivered, I'll declare it a success. Raw performance is at a very different level from what my father was used to. The machine is silent, and in fact is turned on most of the time (as opposed to the old which he never used because of fan-noise). The split Ubuntu / VM setup is slightly complicated, but seems to work out well. As expected, the Windows install has already regressed, but it is easy to go back to a previous Snapshot, instead of re-installing everything again. This machine will definitely last a long time.
