Hand soldering Surface Mount Components
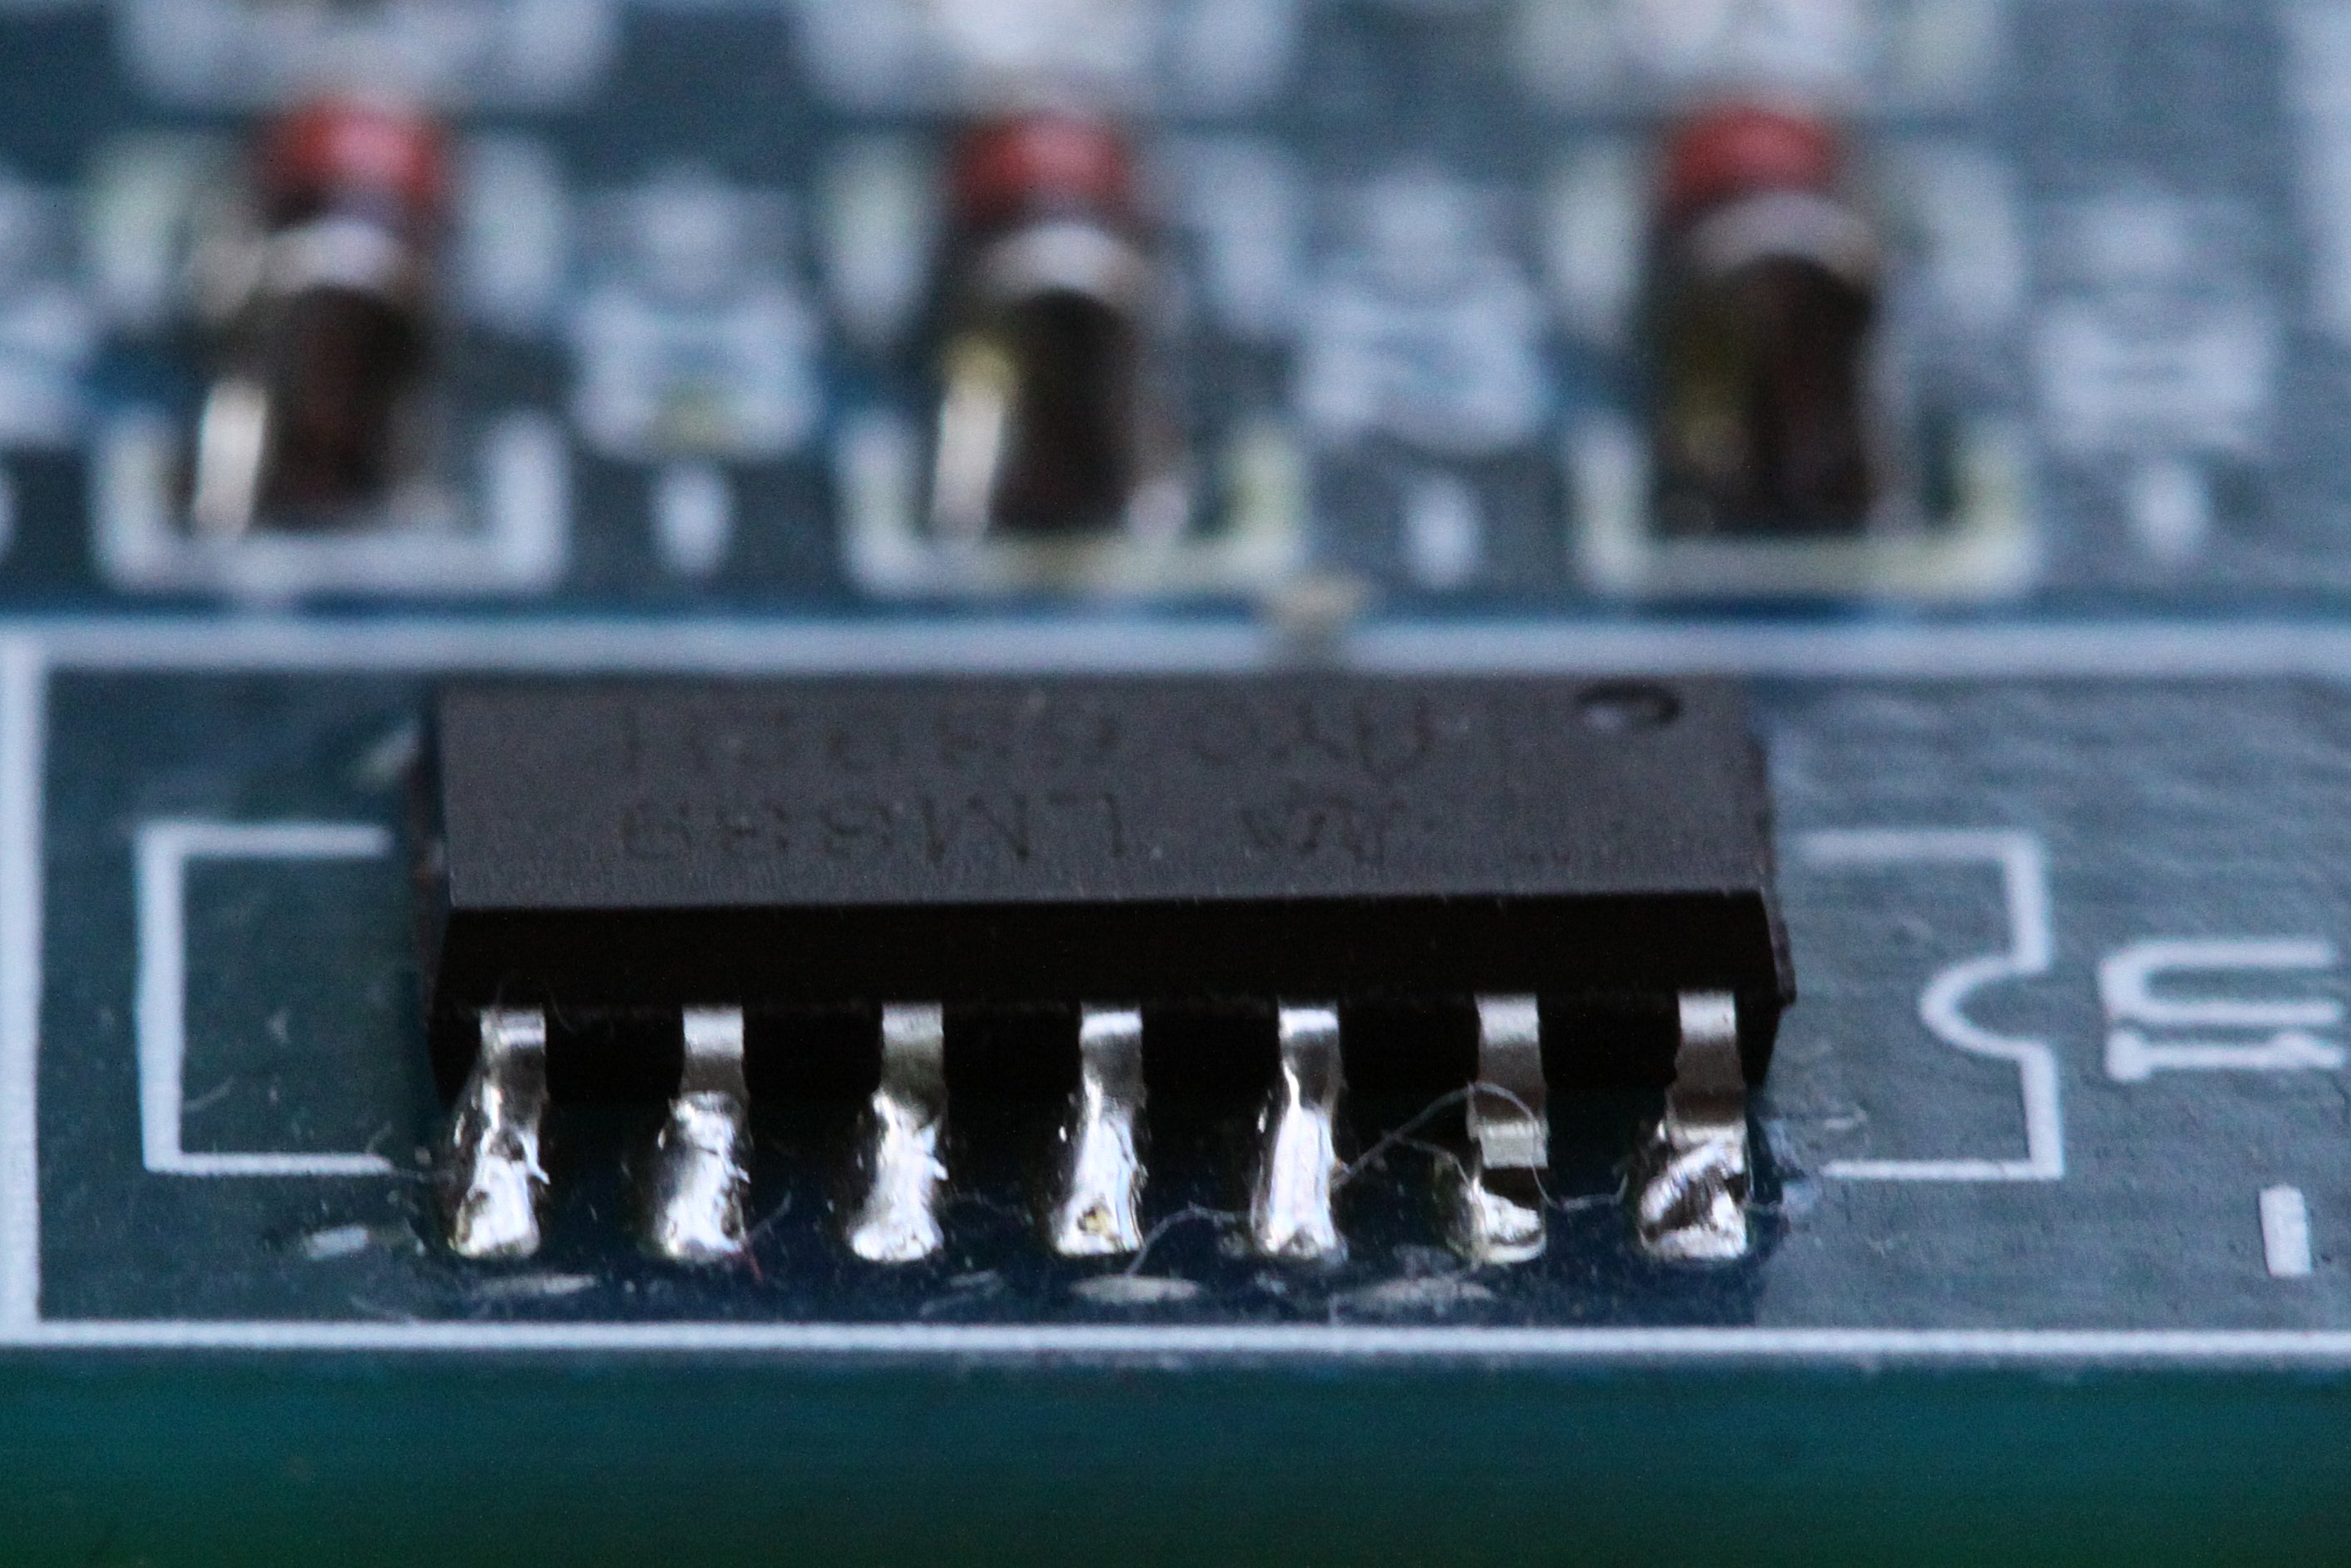
I recently got a $3 practice board for soldering SMD devices. It comes with components of various sizes, including resistors in 1206, 0805, and 0603 sizes; 1206 didoes; SOT-23 transistors; and a SOP14 chip. The board itself has no purpose, and only the resistors and didoes are actually connected. Given that the goal of this was to practice soldering, I'm happy with the outcome, as seen in the pictures below.
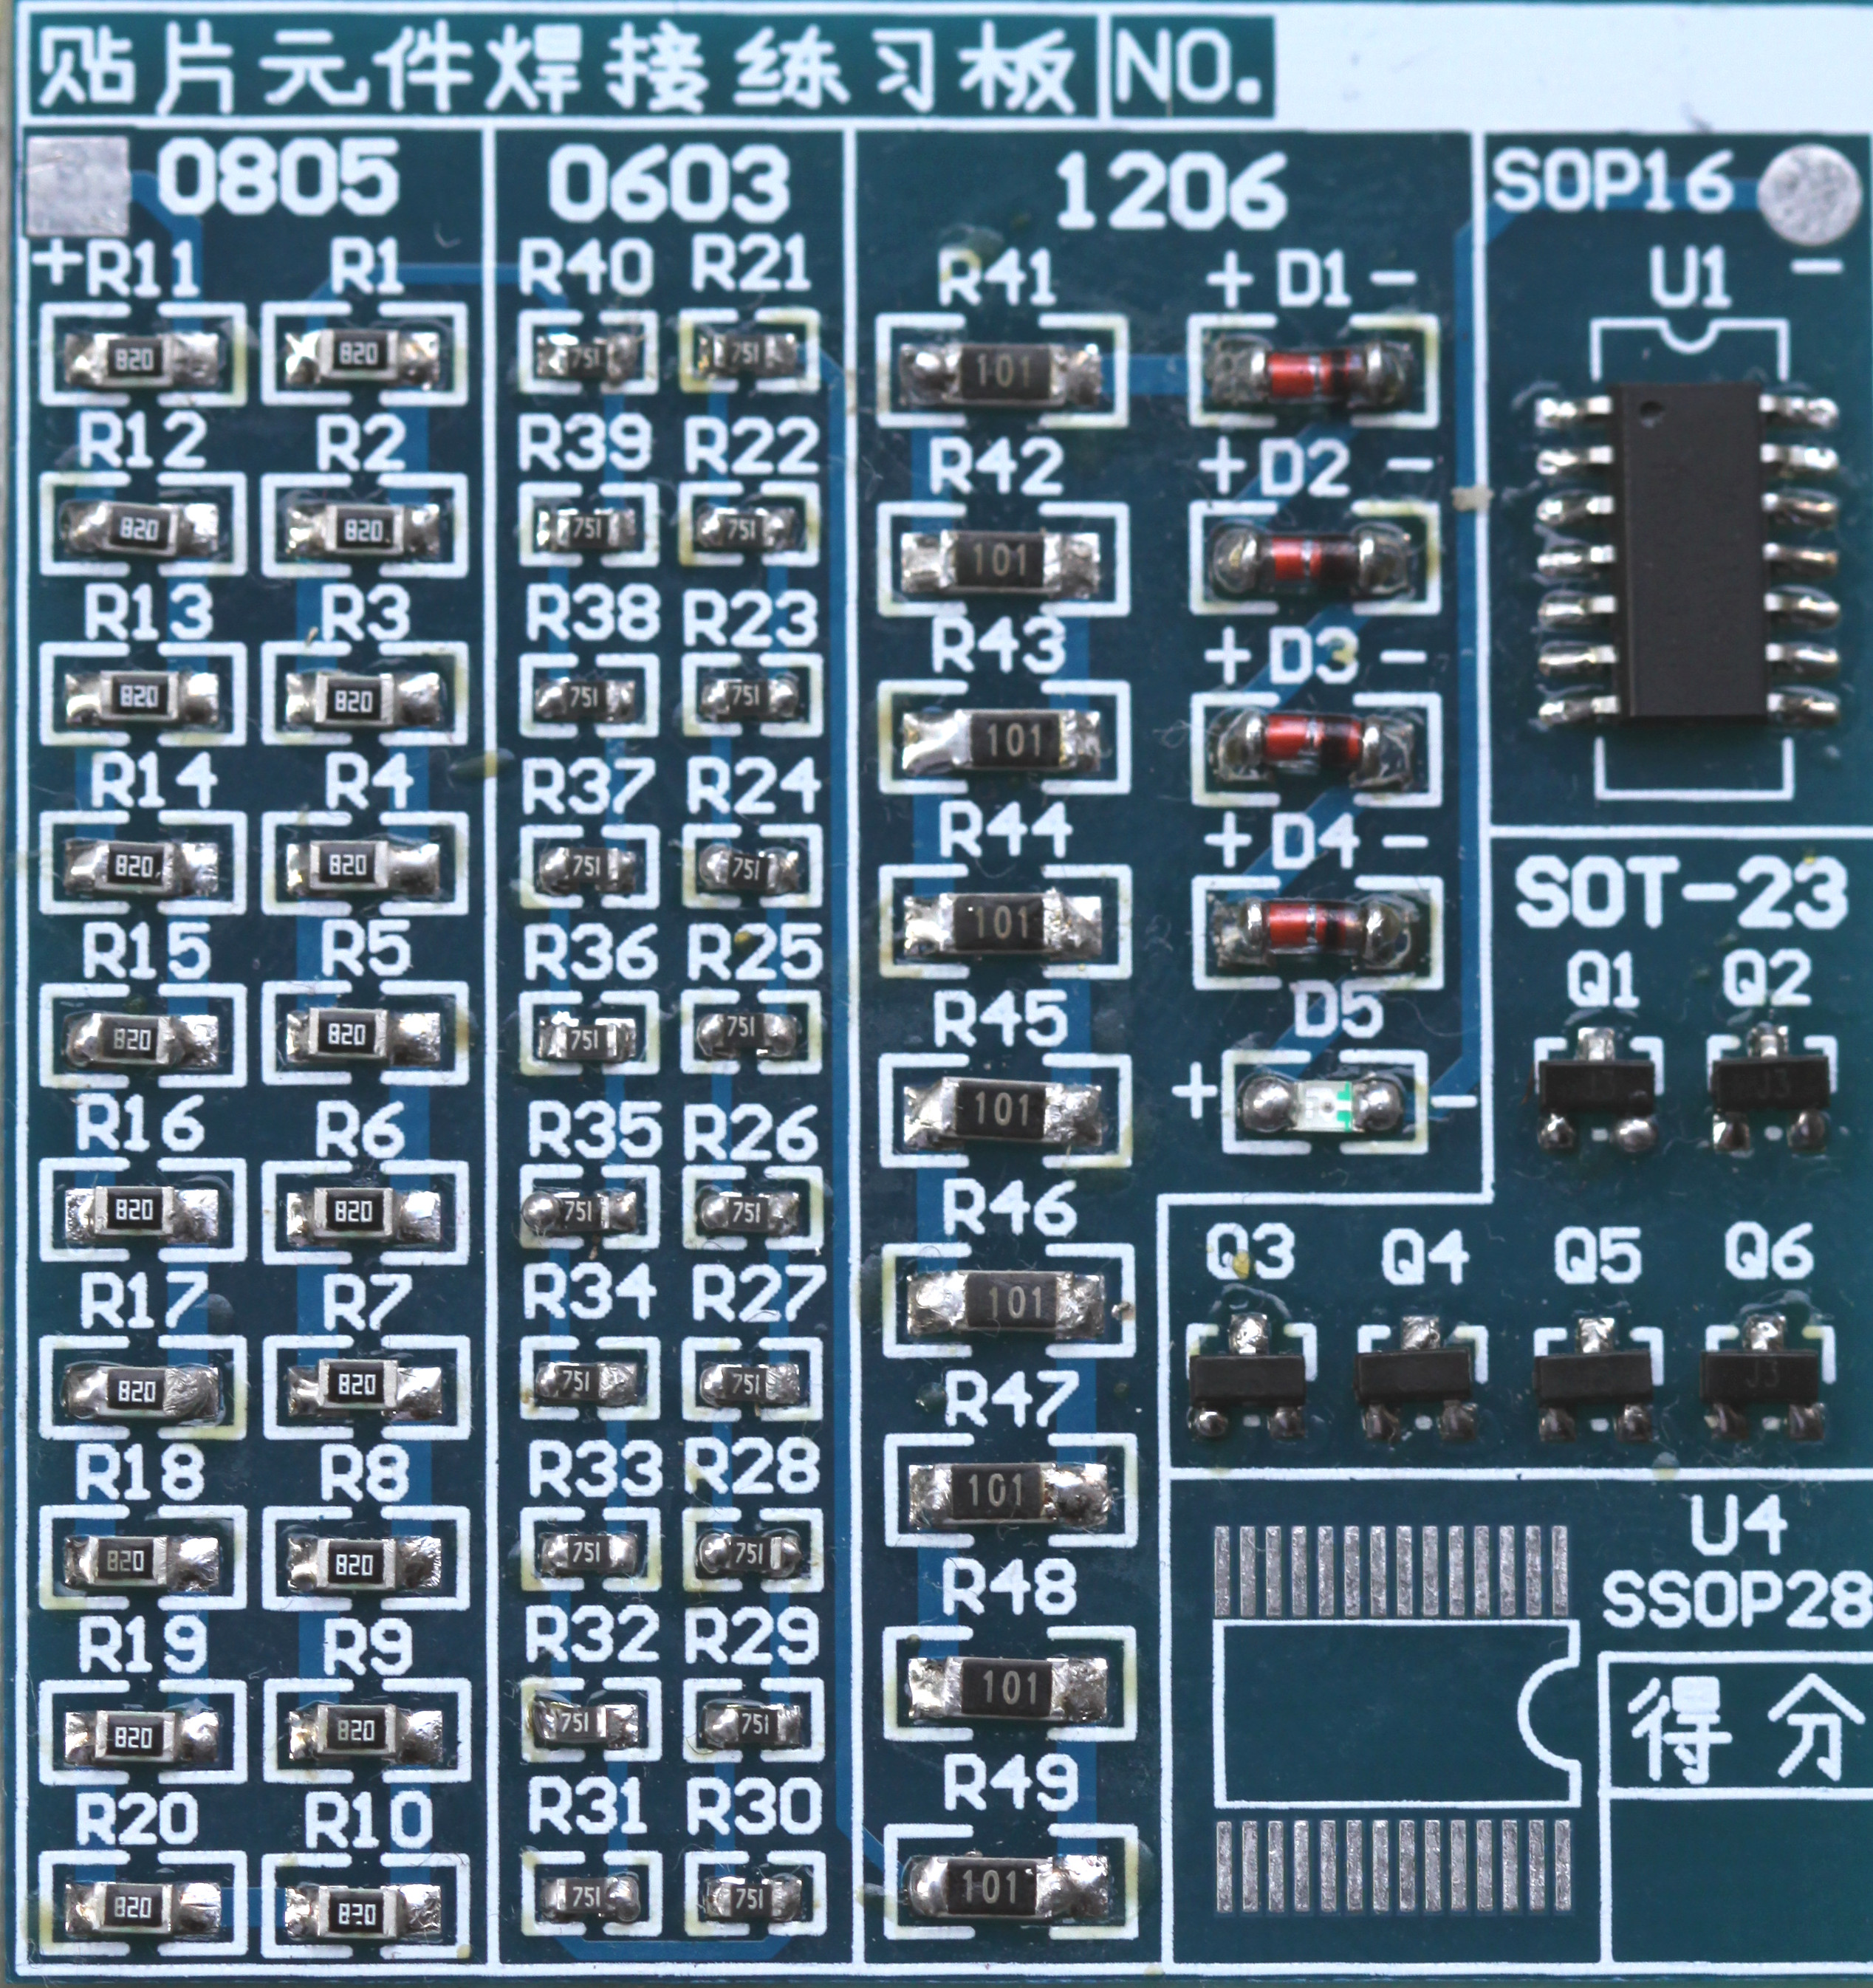

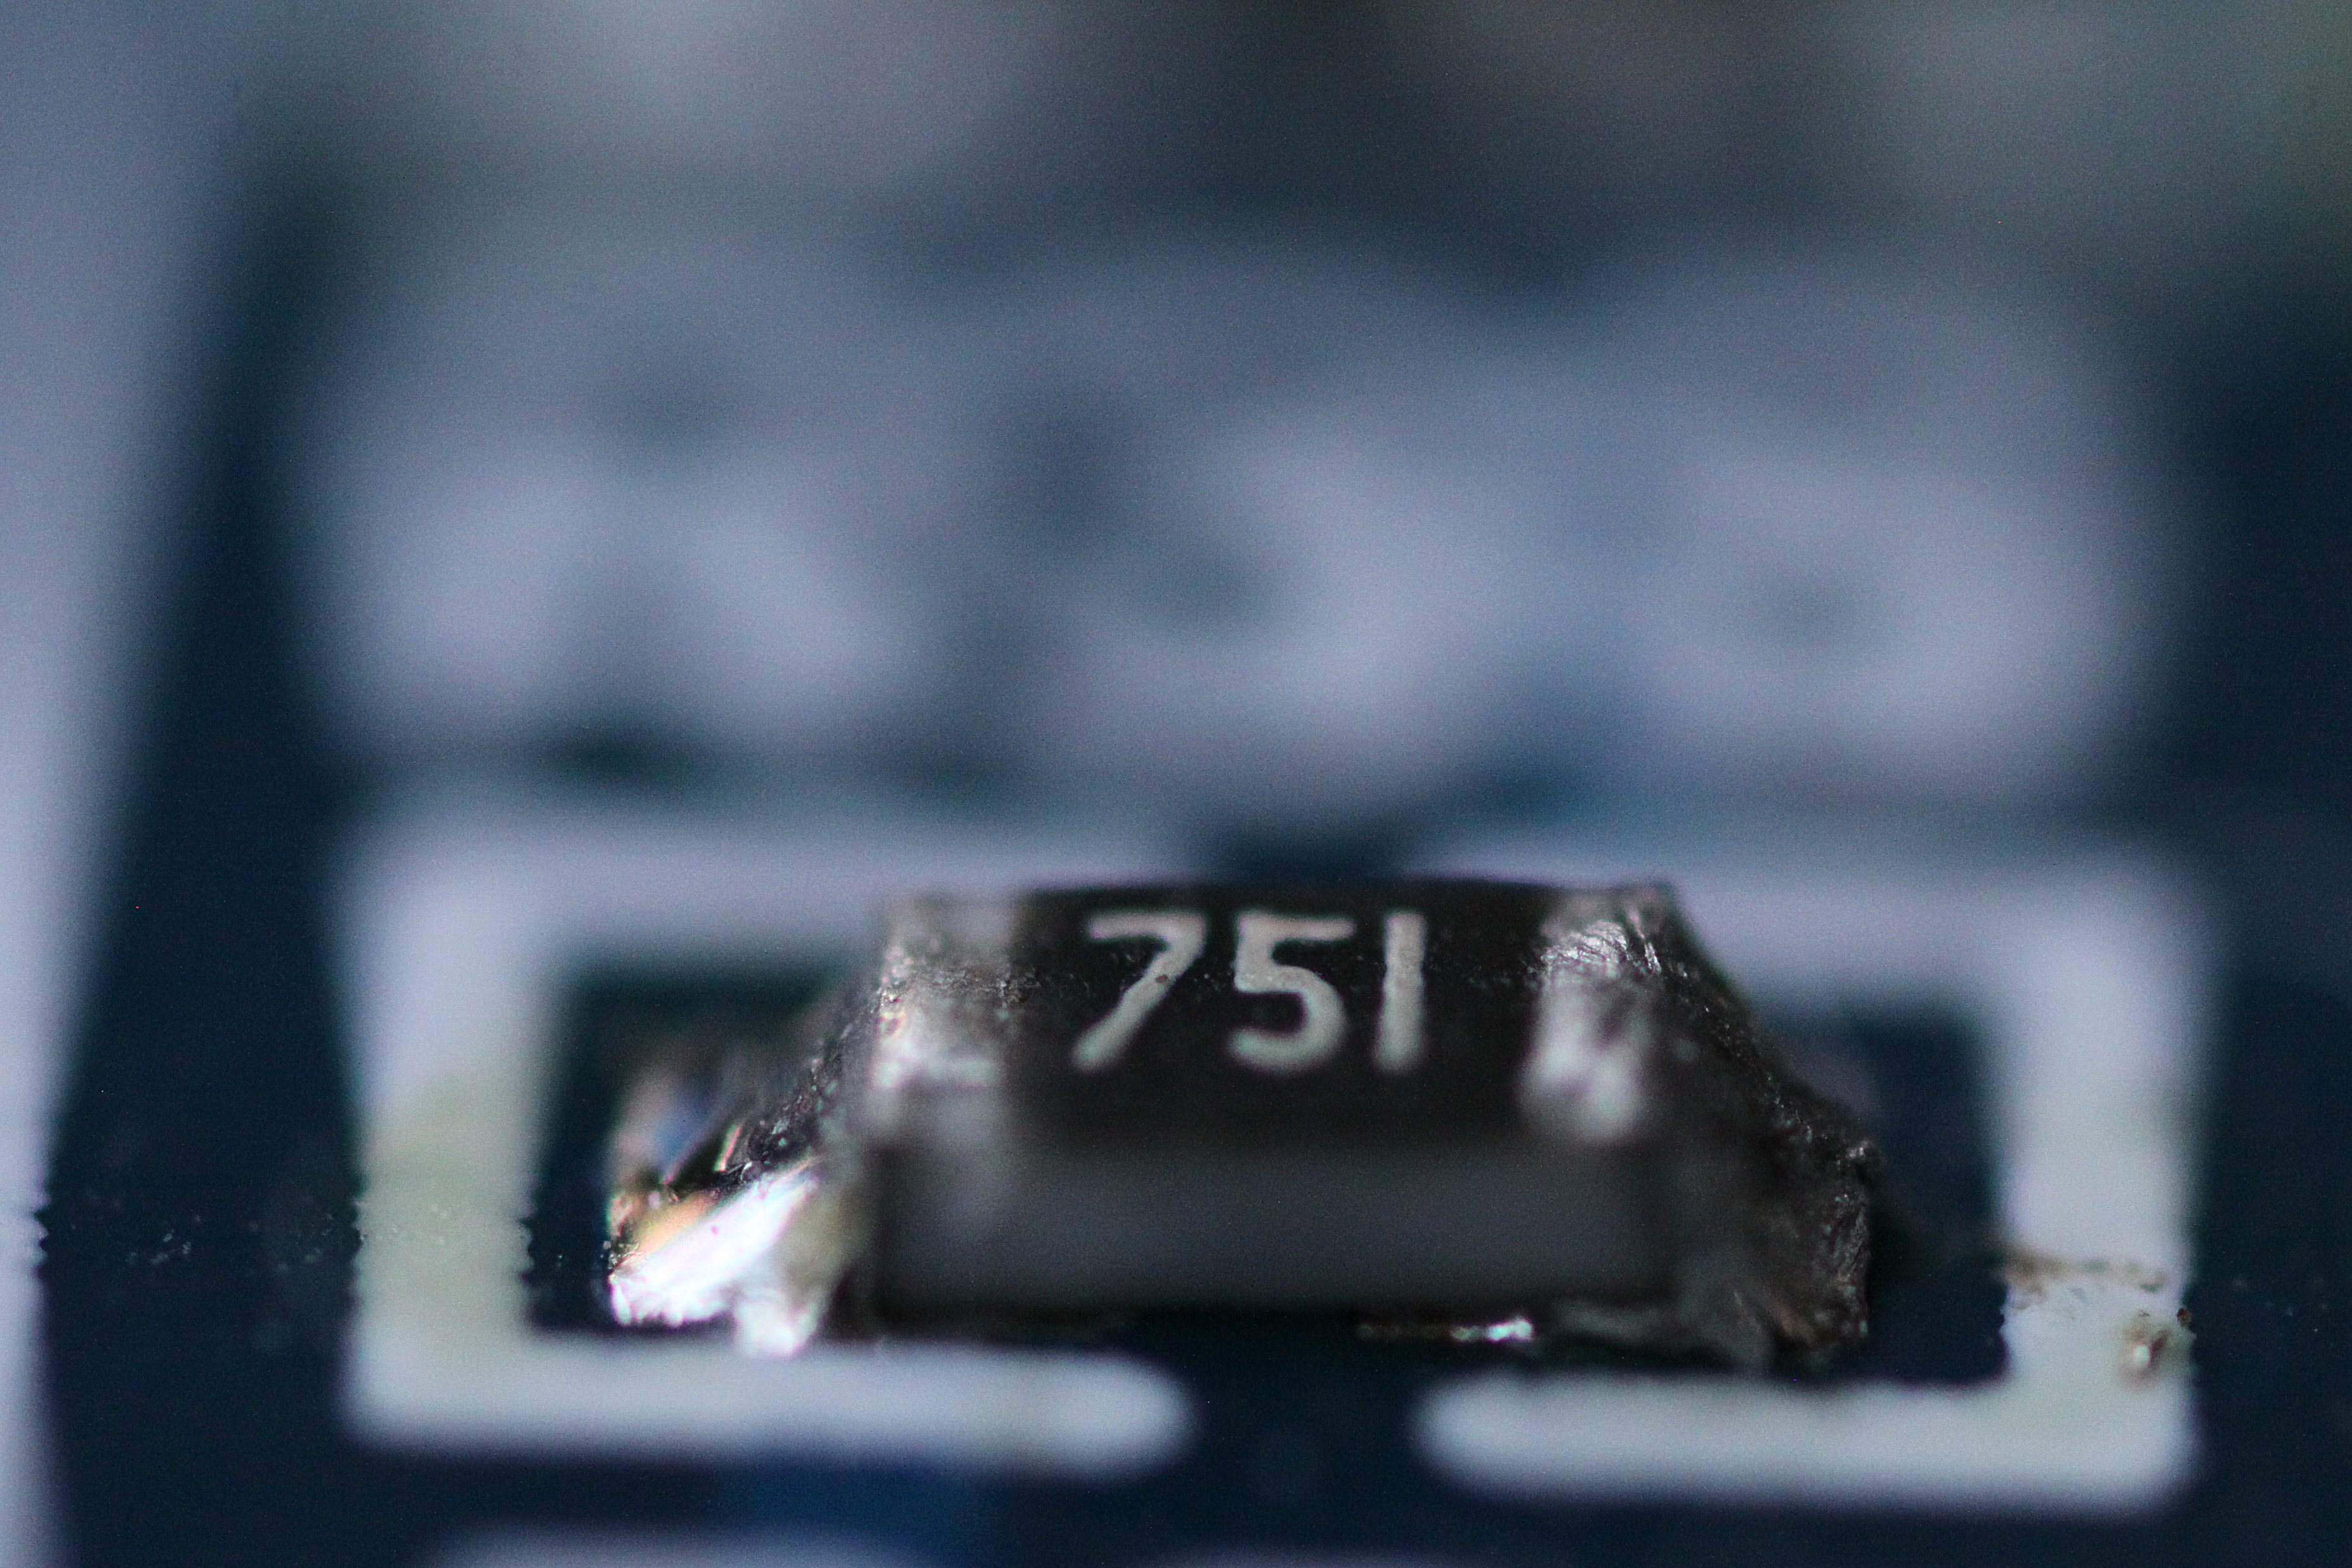
As can be seen, the 100 Ω resistors ("101") are 1206 (3.2 x 1.6 mm); 82 Ω ("820") are 0805 (2.0 x 1.25 mm); and 750 Ω ("751") are 0603 (1.6 x 0.8 mm).
Some requirements and observations on hand soldering:
- Soldering hygiene is paramount: The tip always has to be speckless; the solder has to be clean and untouched (cut off its tip if necessary).
- Visual magnification is required to see what you are doing. Both a tweezer with a magnifying class and a pair of magnifying eye glasses are required.
- A thin solder, preferably 0.5mm.
- A thin solder tip.
- Extreme patience is a must.
As opposed to through-hole soldering, SMD hand-soldering requires a flawless process every time. The tip always has to be clean and wet; so the sponge must always be clean to avoid picking up solder bits. Nothing must be in the way of the working area, including the solder iron wire. The components must be ready and almost in place. A typical iteration of my personal beginner's technique went something like this:
- Remove old solder from the sponge.
- Clean and wet the solder tip: First with the iron cleaner; then on the sponge; wet with a bit of solder; clean on the sponge.
- Inspect the solder tip under a magnifying glass. It should be shiny and without spots or old soler. Repeat step 1 if necessary.
- Put the solder tip down on one of the board pads, and move the solder in to add a bit of solder. Repeat for more solder points.
- If the solder starts to bubble, repeat the cleaning steps.
- Add solder to the tip before putting it back in its holder.
- Open the SMD strip to push out one or two components.
- Using a magnifying glass and tweezer, orient the component in almost the correct location, right next to the pre-soldered pad from step 4.
- Clean and prepare the soldering tip.
- Hold the component down with the tweezer + magnifying glass.
- Heat the solder from step 4, and push in the component into its correct position.
- Without moving the tweezer, remove the solder iron.
- Repeat for more components.
- Add solder to the tip before putting it back in its holder.
- Clean and prepare the soldering tip.
- Both hands are required, so use a handless magnifier, e.g. the magnifying glasses linked above.
- Heat the other side of the component (or solder pad) placed on the board.
- Carefully come in with the solder. Try to make it melt by touching the pad on the board, rather than the solder tip.
- If the solder starts to bubble, repeat the cleaning steps.
- Repeat for more components.
- Add solder to the tip before putting it back in its holder.
As this suggests, the cleaning can get repetitive, however it's absolutely necessary to make this work. As the wetting and cleaning might actually waste quite a bit of solder, a tip refresher paste might be useful. The one at DX is sold out, but AliExpress has the same.
If it wasn't clear already, this is hand-soldering at a rookie level. For professional techniques, better look elsewhere.