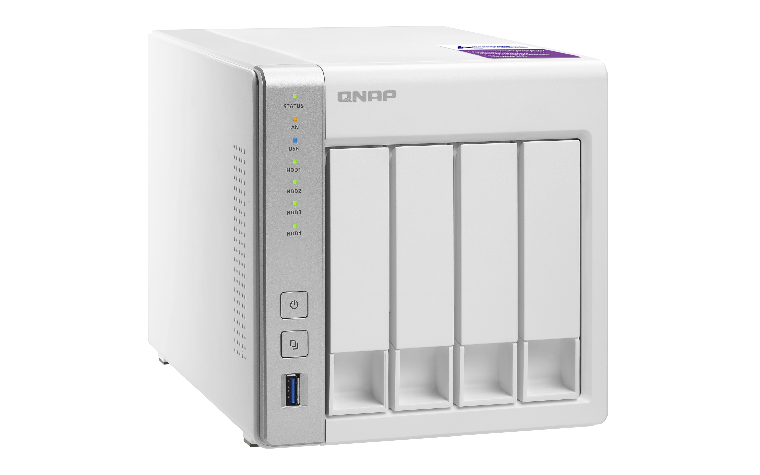
QNAP TS-431P NAS
Tasked with setting up another NAS solution, I went for the simple 4-bay QNAP TS-431P, since the previous QNAP gave a good impression. This one does not have HDMI; in fact the only external ports are three USB 3 ports and two RJ-45 Gigabit Ethernet - no eSATA. Compared to its previous version, TS-431P has double the amount of RAM (for a total of 1 GB), and a slightly faster CPU. Software is as expected from QNAP.
The following describes the standard disk layout when using a single / stand alone disk, which still gets formatted as RAID + LVM, and optionally an encrypted partition.
Windows shares setup is covered at the end.
RAID and LVM
The QNAP NAS OS supports encryption, and I wanted to evaluate how secure this is in terms of failure. That is, if a disk fails, or the NAS itself fails, can you recover the data from the remaining disks. You can, but there are a few steps to watch out for.
First of all, even if each disk in the NAS is set up as "Single Disk / Stand Alone", using no RAID, the NAS will still configure each partition on the separate disks as RAID partitions and in a LVM2 single volume group. That means you'll need the Linux RAID and LVM tools and commands to mount. (Some useful discussion here).
General install, scan and list commands:
apt-get install mdadm lvm2
mdadm --assemble --scan
cat /proc/mdstat
lsblk
vgscan
lvs
lvscan
lvmdiskscan
lvdisplay
And to mount, use the example commands below.
Note: The device names and volume names will most certainly be different. Use the commands above to understand the layout of the disk you're working with.
Also note: if the mdadm scan command does not make all the RAID partitions available, it could be due to an existing /etc/mdadm/mdadm.conf file. You could try to rename it to mdadm.conf.old, or append the RAID details with mdadm --detail --scan >> /etc/mdadm/mdadm.conf. See here for more.
mdadm --assemble --scan

lsbkl
vgscan
vgchange -ay vg1
lsblk
mount /dev/vg1/lv1 /mnt/tmp
That should mount the drive, however, if you are working with an encrypted drive, you'll need one more step before the mount command works, so ignore the last line and continue reading.
Encryption
If you have followed the steps above, and type lsblk, part of the output will look something like this. It shows the layers so far: from the physical partition (sdb3) to the raid1 partition (md126), which contains two LVM logical volumes. In this case, the second is the LUKS encrypted main partition.
├─sdb3              8:19   0   3.6T  0 part
│ └─md126           9:126  0   3.6T  0 raid1
│   ├─vg288-lv545 254:1    0  37.2G  0 lvm
│   └─vg288-lv2   254:2    0   3.6T  0 lvm
So, we continue to decrypt, and mount it. Using cryptsetup luksDump, you can confirm that there is only one keyslot on the encrypted volume, which uses the paraphrase you typed in when installing the drive. However, the password is salted and MD5 hashed, so you have to generate a key-file with the new key. The salt is YCCaQNAP when using the mkpasswd tool, but encoded as $1$YCCaQNAP$ when calling the crypt library. Also make sure the key-file does not contain a newline.
cryptsetup luksDump /dev/vg288/lv2
mkpasswd --hash=md5 --salt='YCCaQNAP' | tr -d '\n' > /tmp/key-file
cryptsetup luksOpen /dev/vg288/lv2 unenc_lv2 --key-file /tmp/key-file
mkdir /mnt/tmp
mount /dev/mapper/unenc_lv2 /mnt/tmp
lsblk
You now have access to the data files on the drive.
Coming back to the original question: Is this a resilient way of storing files? There are certainly a lot of layers, and although they each are well established technologies, they add complexity. Especially in the scenario when you would need to do the recovery it adds additional stress. Ideally, a single partition, no RAID, no LVM could be used. However, it seems that is not possible with the stock QNAP OS, since it will format any drive which is added to the NAS in its own way, including the RAID + LVM stack. In fact, this warning from the user manual is worthing taking careful note of:
Caution: Note that if you install a hard drive (new or used) which has never been installed on the NAS before, the hard drive will be formatted and partitioned automatically and all the disk data will be cleared.
Windows shared folders
The Windows sharing is easier to set up, but not without hurdles. On the local network, it typically will work out of the box when you point Windows Explorer to \\NAS_DOMAIN. If you need to connect across a firewall, you'll have to open or forward at the minimum TCP 139,445, but possibly more ports on TCP and UDP.
The problem is that when sharing these ports cross the Internet, you will very likely run into other firewalls. ISP might block the default 139 or 445 ports. Although it is possible to port-forward to non-default ports, and this will work on Mac and Android, Windows will not accept it. A work-round if all else fails is therefore to set up a VPN or tunnel. Using SSH, this can easily be done with:
ssh -L 0.0.0.0:139:qnap:139 -L 0.0.0.0:445:qnap:445 admin@remotehost
Here it is assumed the NAS has DNS "qnap" on its local network, otherwise, replace with it's IP. You might also want to forward 8080, forward SSH on a different port (e.g. 2222), as well as keep it running with autossh:
autossh -M 12340 -f -N -p 2222 -L 0.0.0.0:139:qnap:139 -L 0.0.0.0:445:qnap:445 -L 0.0.0.0:8080:qnap:8080 admin@remotehost
Finally, if using only Windows machines to connect to the shares, there is the option of combining multiple shares into one. However, if other OSes also connect, you probably want to skip that.